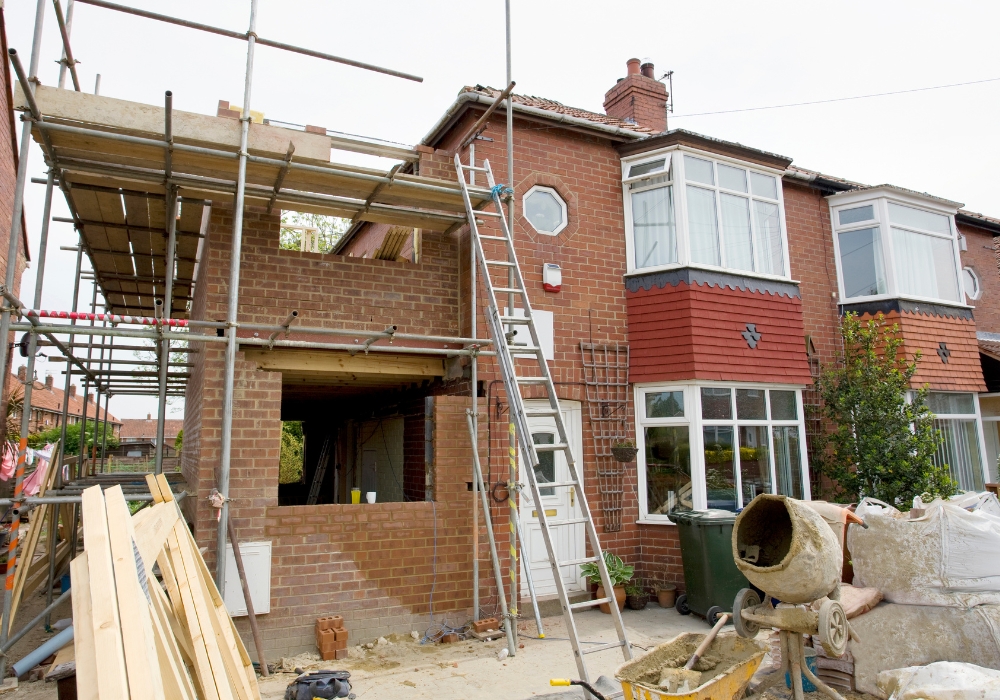
A well-prepared site is the foundation of a strong and long-lasting concrete slab. Skipping steps or cutting corners can lead to cracks, shifting, or drainage problems down the track.
Whether you’re planning a driveway, patio, or shed base, taking the time to do it right will save you headaches later.
Preparing your site for a concrete slab installation properly ensures a durable and stable foundation that will stand the test of time. Get your site ready for a concrete slab installation with these expert tips on planning, soil prep, reinforcement, and more for a durable, stable foundation.
Start with a Solid Plan
Before picking up a shovel, take some time to plan your concrete slab installation properly. First, determine the purpose of the slab—will it be supporting heavy vehicles, a garden shed, or just foot traffic? This will influence the thickness and reinforcement needed.
Check Local Regulations and Permits
Check local codes to see if a permit is needed. Call utility services to mark underground pipes before digging.
Check local building codes and regulations. You might need a permit, especially if the slab is for a structure or driveway. Also, call your local utility service to ensure there are no underground pipes or cables in the area you’ll be digging.
Measure and Mark Your Slab Area
Use stakes and string to outline the slab. Double-check dimensions to avoid misalignment.
Mark out the slab dimensions using stakes and string, ensuring it’s square and properly measured. Double-check these measurements—small errors now can create big problems later.
Check Local Regulations and Permits
Before picking up a shovel, take some time to plan things out properly. First, determine the purpose of the slab—will it be supporting heavy vehicles, a garden shed, or just foot traffic? This will influence the thickness and reinforcement needed.
Next, check local building codes and regulations. You might need a permit, especially if the slab is for a structure or driveway. Also, call your local utility service to ensure there are no underground pipes or cables in the area you’ll be digging.
Clear the Area and Start Digging
Now it’s time to clear the site. Remove any grass, rocks, debris, or tree roots that could interfere with the slab’s stability. You’ll want to dig down to a depth that accounts for the concrete thickness plus any base material.
For most projects, this means excavating at least 10–15 cm (4–6 inches) deep, but heavier structures may require deeper excavation.
Make sure the area is level before moving on. If your site has a natural slope, you might need to dig deeper on one side to create a level base.
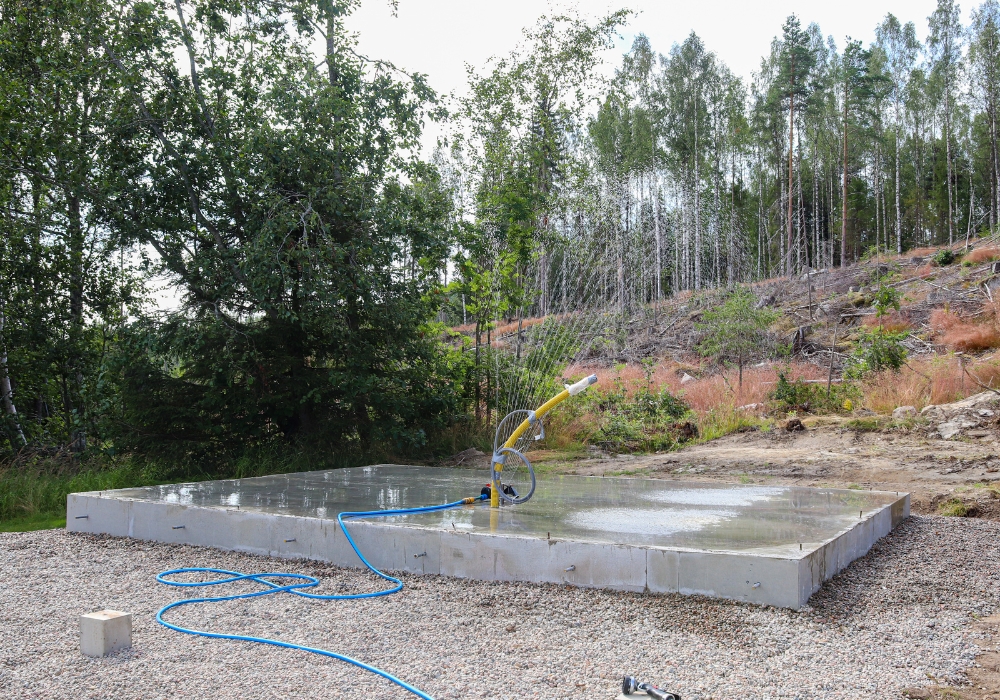
Compact the Soil and Add a Strong Base
A stable base prevents shifting, sinking, and cracking. Loose or soft soil will cause problems down the road, so take the time to compact it properly. A hand tamper works for small areas, but a plate compactor is best for larger sites.
Once the soil is compacted, spread a layer of crushed stone or gravel (about 10 cm / 4 inches) over the area. This helps with drainage and provides a solid foundation. Compact the gravel layer until it feels firm underfoot.
If your location has a lot of moisture, consider adding a vapor barrier before pouring concrete. This helps prevent water from seeping up and causing issues over time.
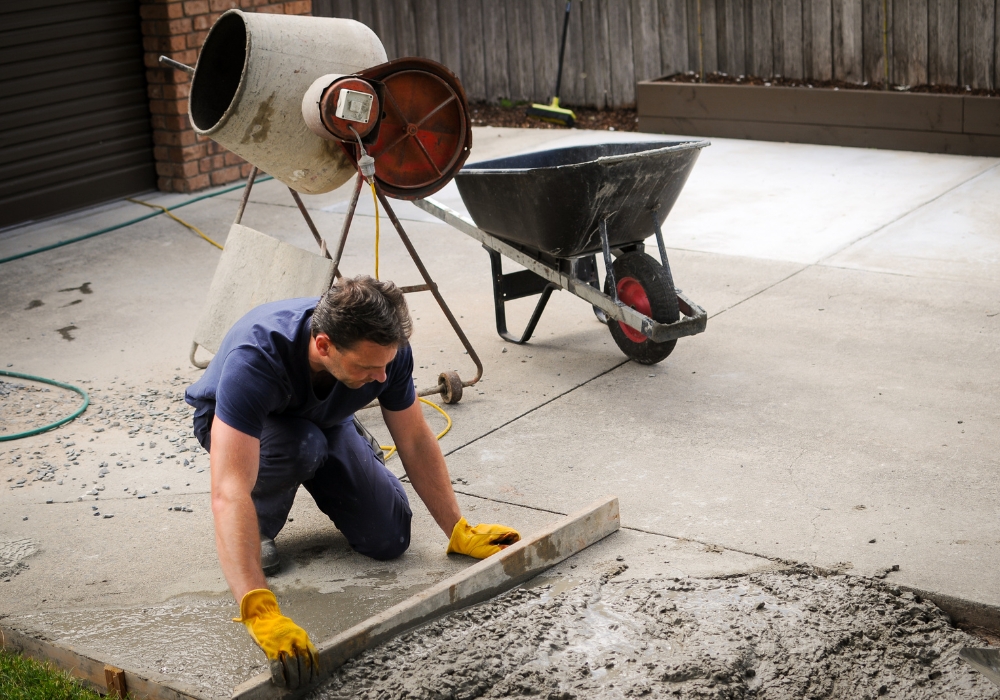
Set Up Forms to Shape Your Slab
Forms keep the wet concrete contained and ensure your slab has clean edges. Use wooden boards or metal framing to create a perimeter around your marked area. Secure them with stakes and make sure they’re level and properly aligned.
To prevent the concrete from sticking, coat the inside of the forms with a light layer of oil or a concrete release agent. If your slab will meet an existing structure (like a house or driveway), leave a small expansion gap to allow for natural movement.
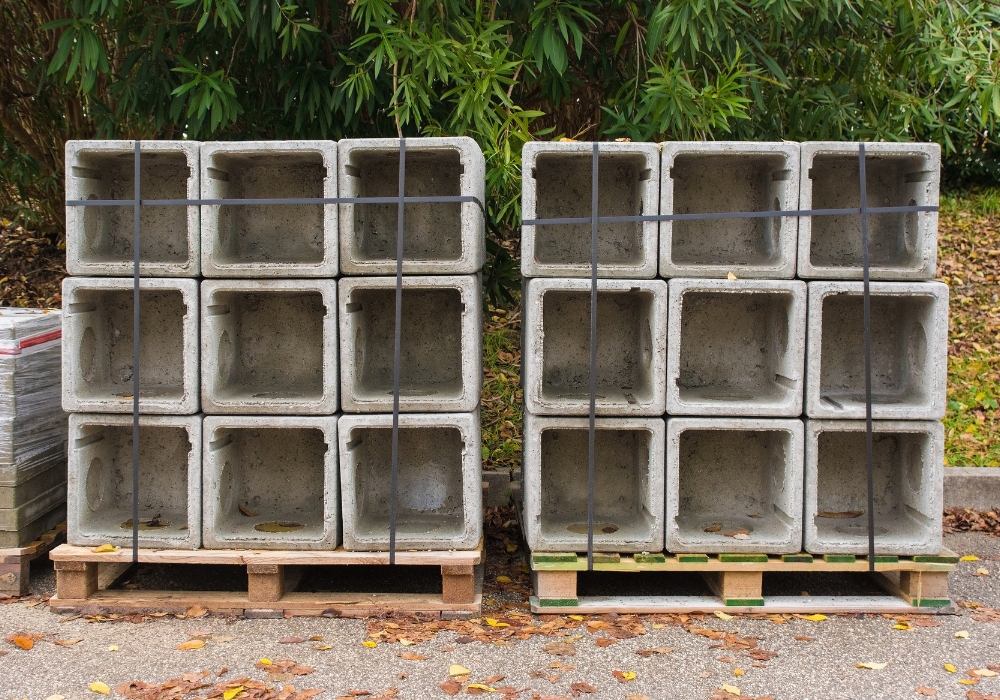
Reinforce for Added Strength
Reinforcement helps prevent cracks and increases durability. Depending on the slab’s purpose, you can use steel rebar or wire mesh.
- Wire Mesh: Suitable for light loads like patios and walkways.
- Rebar: Ideal for driveways and heavy structures.
- Fiber Reinforcement: Helps reduce surface cracking and improves flexibility.
Place the reinforcement within the form, ensuring it’s lifted slightly off the ground so it sits in the middle of the concrete rather than resting at the bottom. Small plastic or concrete supports can help keep it in position.
Check the Slope and Drainage
Water pooling on a slab can cause long-term damage. If your slab is outdoors, it should have a slight slope to direct water away from buildings or walkways.
A good rule of thumb is a slope of about 1–2% (roughly 2 cm per meter / ¼ inch per foot). If your project requires a perfectly flat surface, consider drainage solutions like a perimeter channel or a slight crown in the middle.
Final Inspection Before Pouring
Before calling in the concrete truck, go through this checklist:
✔ Forms are level, straight, and securely in place
✔ Reinforcement is properly positioned and supported
✔ Gravel base is well-compacted
✔ Expansion joints (if needed) are planned and installed
✔ Drainage slope is correct
✔ Everything is ready for a smooth pour
Wetting the base slightly before pouring can also help prevent rapid moisture loss from the concrete, leading to a stronger cure.
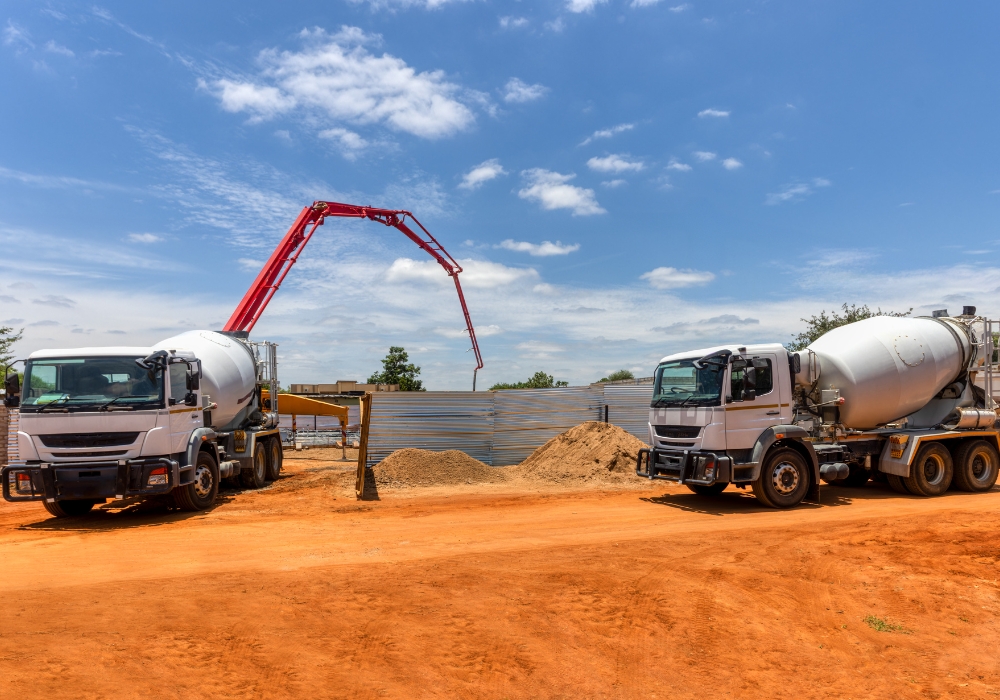
Your Site Is Ready—Now It’s Time to Pour
A well-prepared site makes all the difference in how long your concrete slab lasts. Taking the time to plan, excavate, compact, and reinforce properly ensures a smooth installation with fewer problems down the track. If you’re unsure about any step, it’s always a good idea to consult a professional or get a second opinion.
Once your site is ready, you’ll be set for a successful pour—and a sturdy slab that stands the test of time. Happy building!